Table of Contents
A roof leak is every homeowner's nightmare, but understanding how to respond can minimize damage and repair costs. This guide covers the complete process from discovery to repair, with specific considerations for Florida's unique climate challenges.
Immediate Response: When You Discover a Leak
The first minutes after discovering a leak are critical for minimizing damage.
Step 1: Control the Water
Inside your home:
- Place buckets or containers under active drips
- Move furniture and valuables away from the affected area
- If water is pooling on a ceiling, carefully puncture it to prevent collapse (more on this below)
- Lay down plastic sheeting to protect flooring
The ceiling puncture decision:
If you see a bulging ceiling with pooled water, you have a choice:
- Let it go: Risk of ceiling collapse, widespread damage
- Puncture it: Controlled release into a bucket, limited damage
Use a screwdriver or nail to create a small hole at the lowest point of the bulge. Have a large container ready—there may be more water than expected.
Step 2: Document Everything
Before doing anything else, document the situation for insurance:
- Take photos and videos of all water damage
- Photograph the ceiling, walls, floor, and any damaged belongings
- Note the date, time, and weather conditions
- Keep all damaged items until insurance adjusts the claim
Our insurance claim guide provides detailed documentation advice.
Step 3: Attempt Temporary Protection
If the leak is active during rain and you can safely access the source:
- Apply roofing cement to visible cracks or gaps (temporary only)
- Use plastic sheeting weighted down to cover the area
- For larger areas, emergency tarping may be needed
Safety warning: Never go on a wet roof. If rain is active, wait until it stops or call for emergency roof repair.
Finding the Leak Source
The hardest part of leak repair is often finding where water actually enters. Water can travel far from entry point to where it drips inside.
Why Leaks Are Hard to Locate
Water entering your roof doesn't fall straight down:
- Runs along rafters, decking, and other surfaces
- May travel 10-20 feet before dripping
- Can be absorbed by insulation and release slowly
- Multiple entry points may combine into one interior drip
Interior Inspection
Start from where you see the water inside:
In the attic:
- Look for water stains on underside of roof deck
- Follow stains upward toward the roof peak
- Check for daylight visible through gaps
- Look for mold or wet insulation
- Note any damage to rafters or trusses
On the ceiling:
- Stain location may not indicate leak location
- Multiple stains may be from one leak
- Look for pattern—does water follow a path?
Exterior Inspection
With safety precautions, inspect the roof surface:
High-Risk Areas (Check First):
As detailed in our roof leak causes guide, most leaks occur at:
- Flashing around chimneys, vents, and skylights
- Roof valleys where two slopes meet
- Vent pipe boots and penetrations
- Damaged or missing shingles
- Flashing at wall-to-roof transitions
What to Look For:
- Cracked, curled, or missing shingles
- Damaged or separated flashing
- Cracked vent pipe boots
- Exposed nail heads
- Debris accumulation
- Moss or algae growth (can lift shingles)
The Water Test
If you can't find the source visually:
- Have someone inside watching the leak area
- Use a garden hose to run water on suspect areas
- Start low on the roof and work upward
- Isolate sections—run water for several minutes each
- When the person inside sees water, you've found the area
This method works but requires patience—water may take time to appear inside.
Types of Roof Leak Repairs
Repair methods depend on the leak source and severity.
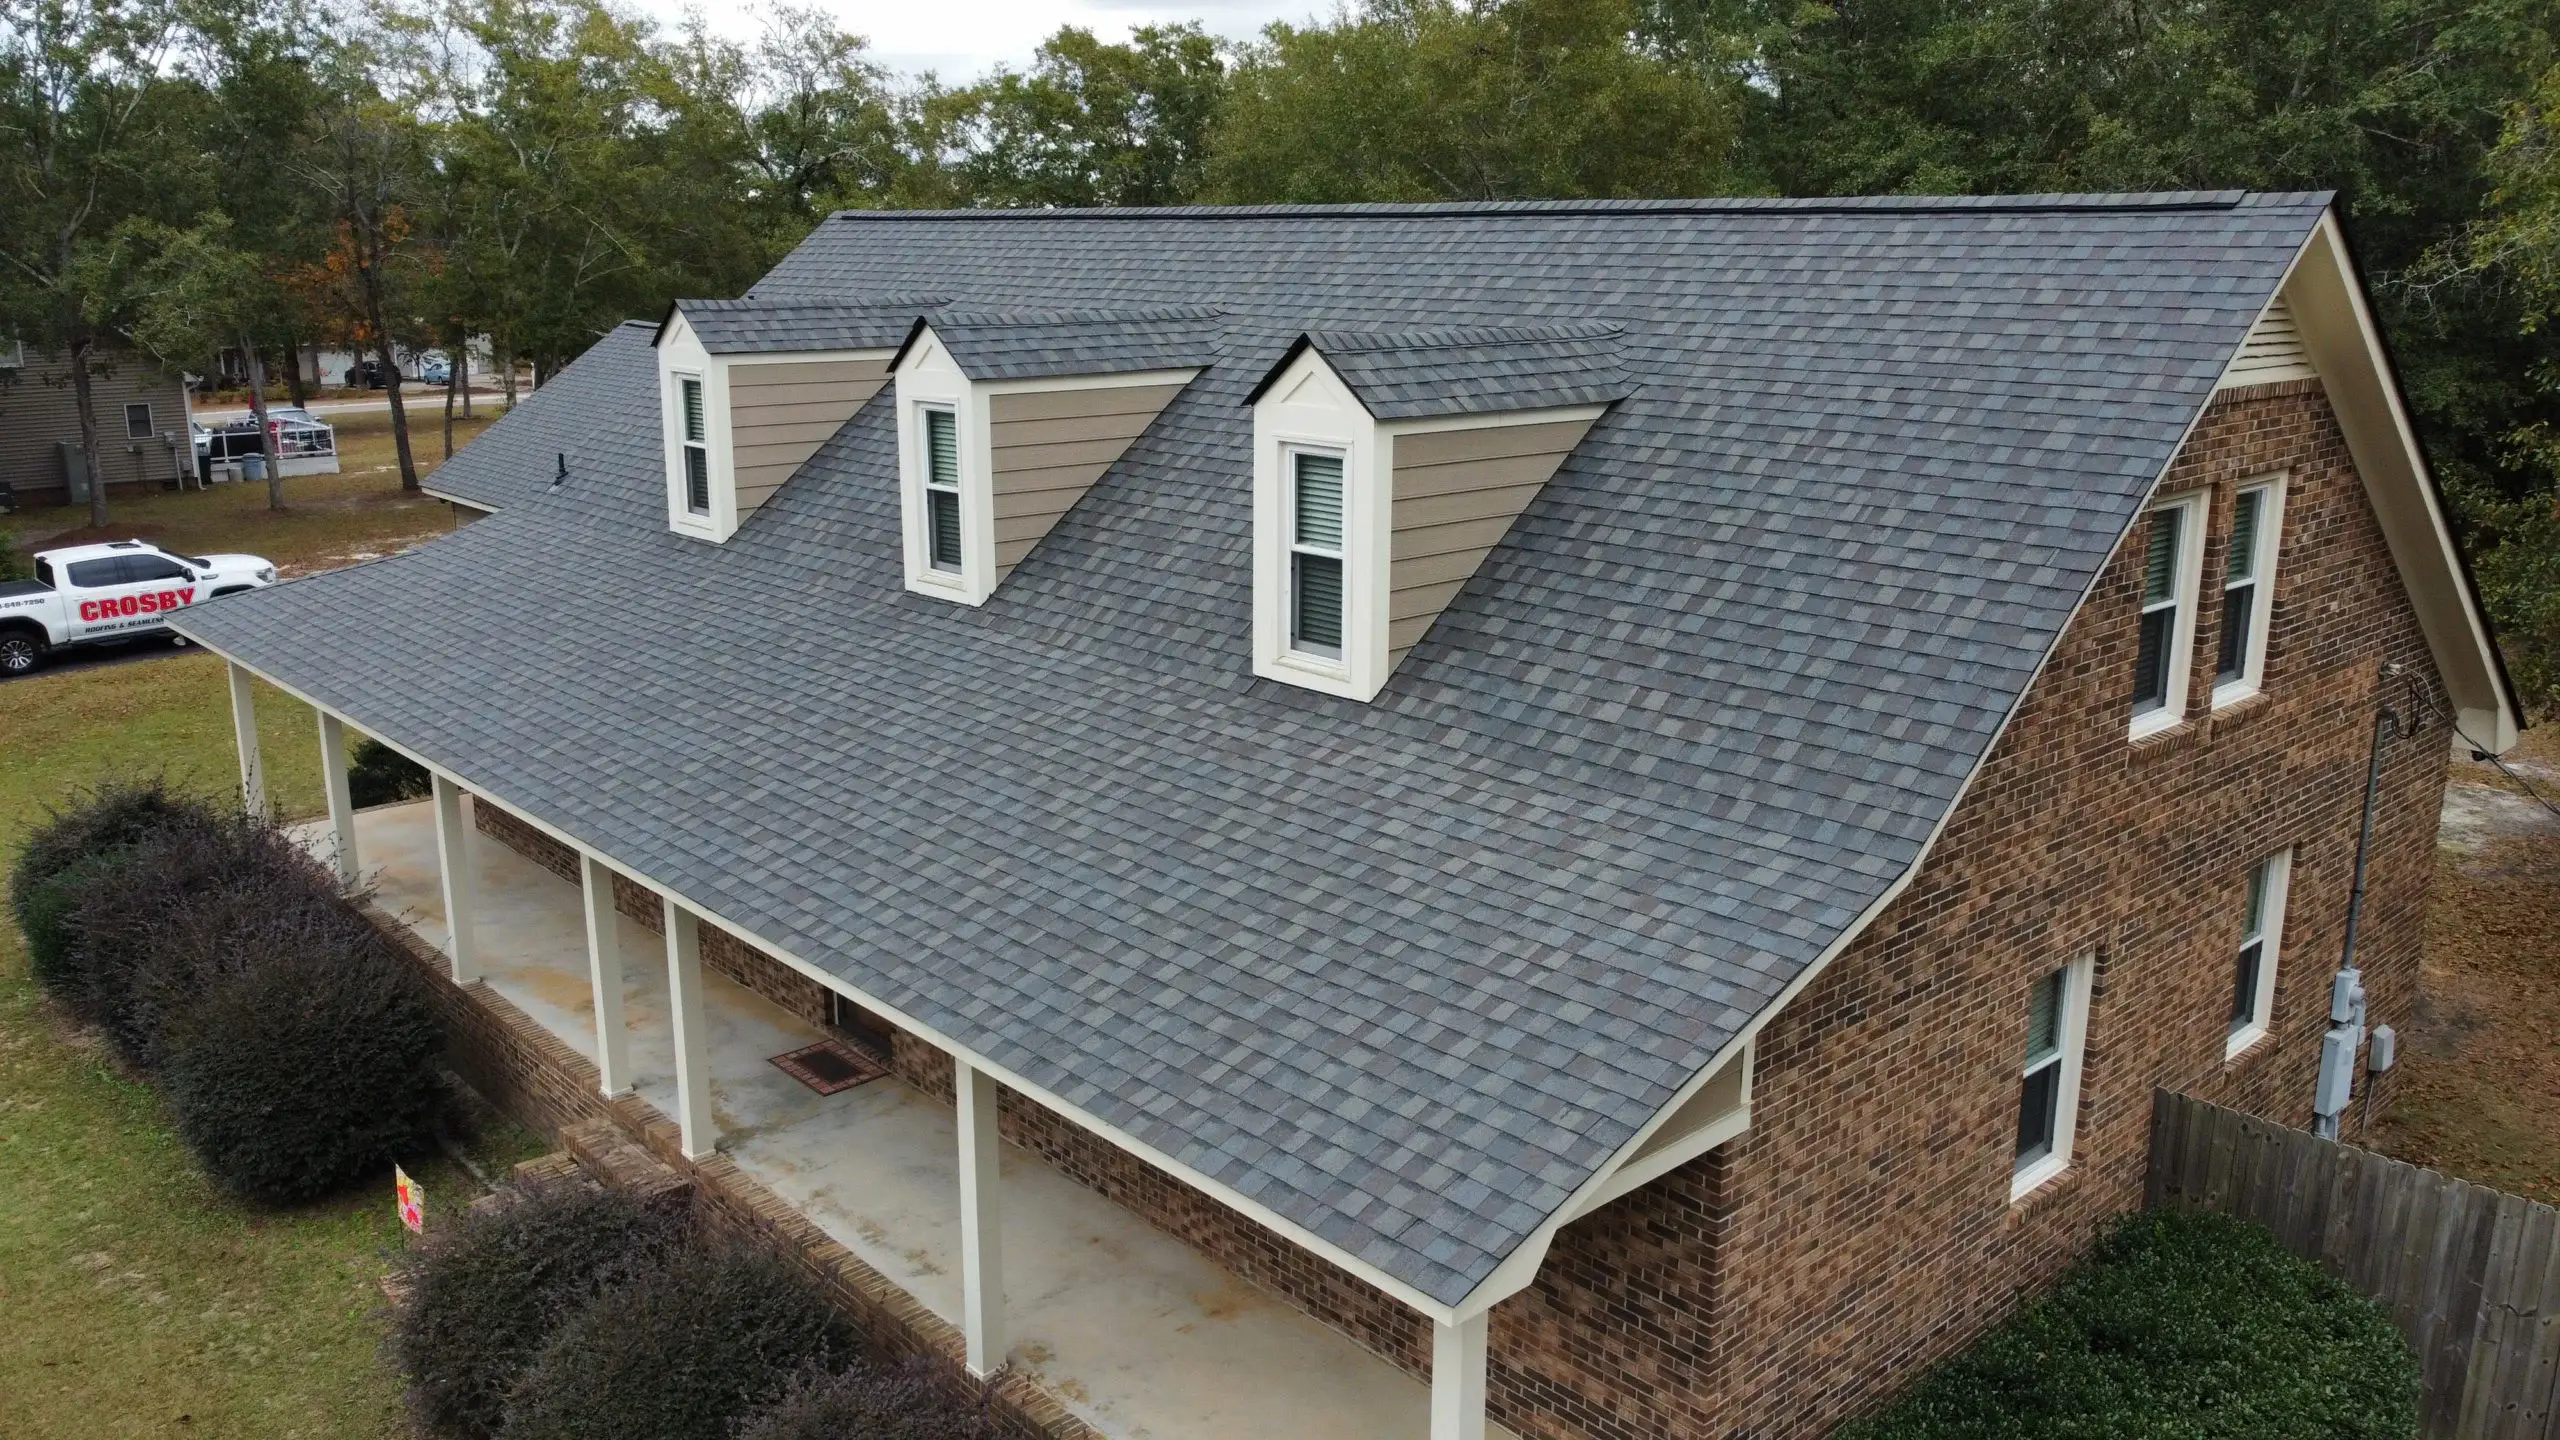
Shingle Repairs
Cracked Shingles:
- Apply roofing sealant under the crack
- Press shingle flat
- Apply sealant over the crack
- May be temporary—monitor for recurrence
Curled Shingles:
- Apply roofing cement under curled edges
- Weight down until cement sets
- If shingles are brittle, replacement is better
Missing Shingles:
- Slide new shingle into place
- Secure with roofing nails under overlapping shingle above
- Seal nail heads and edges with roofing cement
- Match shingle type and color
Flashing Repairs
As covered in our flashing guide, flashing issues require specific approaches:
Step Flashing (Wall-to-Roof):
- Remove siding above flashing
- Replace damaged step flashing pieces
- Reinstall with proper overlap
- Seal all joints
- Replace siding
Chimney Flashing:
- Multiple components (step flashing, counter flashing, cap)
- Often requires professional repair
- May need to remove and reinstall mortar
- Counter flashing embedded in chimney is complex
Vent Pipe Boots:
- Remove old boot by lifting surrounding shingles
- Install new boot under upper shingles, over lower
- Seal all edges
- Replace any disturbed shingles
Valley Repairs
Roof valleys are high-risk leak areas:
Metal Valley:
- Check for holes or rust
- Seal small holes with roofing cement
- Larger damage requires valley replacement
Woven or Cut Valley:
- Look for separated shingles
- Reseal edges with roofing cement
- Consider converting to metal valley for better protection
Underlayment Damage
If underlayment is damaged (common on older roofs):
- Shingles alone can't stop water
- Patching underlayment is temporary at best
- Often indicates need for roof replacement
- Especially common on older tile roofs—see our tile underlayment guide
Flat Roof Repairs
Flat roofs have unique repair needs:
- Patch membrane tears with appropriate material
- Address ponding water issues (drainage problems)
- Seal seams and flashings
- Consider coating application for widespread issues
- See our flat roof maintenance guide
Professional vs. DIY Repairs
When to DIY
Some repairs are manageable for skilled homeowners:
- Single cracked or missing shingle
- Resealing small gaps with roofing cement
- Clearing debris from valleys and gutters
- Replacing a simple vent pipe boot
DIY Requirements:
- Comfortable working at heights
- Proper safety equipment (harness, stable ladder)
- Dry weather conditions
- Quality materials
- Understanding of how roofing systems work
When to Call Professionals
Professional repair is recommended for:
- Multiple leak sources
- Steep roof pitches
- Complex flashing (chimneys, skylights)
- Any structural damage
- Warranty concerns (DIY may void warranty)
- Insurance claims (professional documentation helps)
- Any doubt about your abilities
The Cost Consideration:
DIY mistakes often cost more to fix than professional repair would have cost originally. A botched repair can void warranties, cause further damage, and create safety hazards.
Repair Costs in Florida
Typical Repair Costs
Florida roof repair costs vary by type:
- Minor repairs (sealant, single shingle): $150-$400
- Shingle replacement (small area): $300-$800
- Flashing repair: $300-$1,000
- Vent boot replacement: $150-$350
- Valley repair: $500-$1,500
- Major repairs (significant damage): $1,000-$3,500+
Factors Affecting Cost
Several factors influence repair pricing:
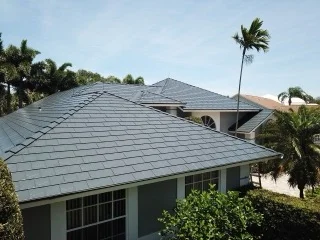
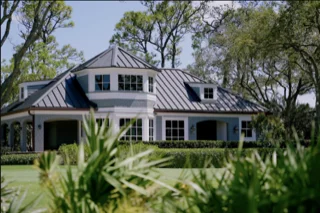
- Roof type: Tile and metal repairs cost more than shingle
- Accessibility: Steep roofs require more safety equipment
- Damage extent: Hidden damage often discovered during repair
- Materials needed: Matching older roofing can be challenging
- Emergency timing: After-hours and storm-season repairs cost more
Repair vs. Replace Decision
Sometimes repair isn't the best value:
- Multiple leak sources suggest systemic issues
- Roofing materials nearing end of life
- Underlying deck damage
- Repeated repairs to same areas
Our repair vs. replace guide helps you evaluate this decision.
Preventing Future Leaks
Regular Maintenance
Prevention is far cheaper than repair:
- Schedule annual roof inspections
- Keep gutters clean (see gutter maintenance tips)
- Trim overhanging branches
- Remove debris from roof surface
- Address minor issues promptly
Attic Inspection
Check your attic periodically:
- Look for water stains after storms
- Ensure proper ventilation (see ventilation guide)
- Check for pest damage that could create entry points
- Verify insulation isn't blocking soffit vents
After Storms
Florida storms demand post-storm vigilance:
- Inspect roof after significant weather events
- Check for missing or damaged materials
- Look for debris impacts
- Don't wait for leaks to appear—damage may not show immediately
Special Florida Considerations
Hurricane Damage
After hurricanes, leak repairs have unique aspects:
- Document everything for insurance
- Emergency tarping may be needed before repairs
- Contractor availability may be limited
- Be wary of storm-chasing contractors
- See our post-storm checklist
High Humidity Issues
Florida's humidity affects leak repair:
- Sealants need dry conditions to cure properly
- Moisture can be trapped if repairs done improperly
- Proper ventilation prevents condensation (which can look like leaks)
UV Damage
Florida's intense sun ages roofing faster:
- Sealants dry out and crack
- Rubber boots become brittle
- Shingles lose granules
- Regular inspection catches UV damage before leaks develop
Get Professional Help
If you're dealing with a roof leak—active or historic—don't hesitate to call for professional assessment. At Pro Specialty Services, we provide thorough leak diagnosis, transparent repair recommendations, and quality repairs that address the root cause, not just the symptoms.
Contact us for a roof inspection if you've noticed water stains, active leaks, or any signs of water intrusion. Early intervention prevents extensive damage and costly repairs. We serve all of Lake County and surrounding areas with prompt, professional service.
Caleb Hutchinson
Owner, Pro Specialty Services
"The biggest mistake I see homeowners make with leaks is waiting. 'It's just a small drip' turns into 'we have mold in the walls' faster than you'd think, especially in Florida's humidity. When you see a leak, act immediately to control the water, document the damage, and get professional eyes on it. The repair that costs $500 today can become a $5,000 repair next month."